One of my, many, passions, but one that is worthy to be a first class citizen on this site. Food. I do not claim to be a good cook, but quite possibly a competent one. I dabble here and I dabble there in a variety of recipes. Whether it is from sautéeing a dish or baking a bread or pizza. I often try out recipes, rarely however, do I follow it to a T. Being a home cook, to me, is an art form rather a science. I am not always too precise on the measurements, I might add a dash of this and a dash of that or sneak in some added nutrition there.
My goal is to prepare a decent meal at least once a week (often on the weekends), and I would like to share with you what I decide to tackle. I hope you do not mind vegetarian meals, because that is what I predominately cook!
Please check back, often!
Click here for a list of the recipes if you do not wish to scroll through all of them!
Mar 11, 2018 • food
Ingredients
Dough
- 1 teaspoon active dry yeast
- 2 tablespoons sugar
- 1/4 cup water (room temperature)
- 3 1/2 cups all-purpose flour
- 1/4 cup wheat germ
- 1/4 cup flaxseed (milled)
- 1 teaspoon baking soda
- 1 teaspoon baking powder
- 1/2 cup full-fat plain yogurt
- 3/4 cup whole milk (room temperature)
- 1 tablespoon olive oil
For frying
- 1/4 cups olive oil
- 1/8 teaspoon salt
Optionally
- 1/4 teaspoon garlic powder
- parsely (in a shaker)
Instructions
Dough
- In a small bowl, combine the yeast, sugar and water. I slightly mixed it, and let it sit for 10 minutes.
- While the yeast mixture is giving off some co2. In a large bowl (it might just be a stand mixer bowl) add the flour, wheat germ, flaxseed, baking soda and baking powder-- stir it a little.
- After the timer for the yeast mixture has eclipsed add it along with the yogurt, and milk to the flour bowl and whisk together (this will be a little sticky and you might need to use a flat edge to get stuff out of the whisk). At this point, you can either kneed with your hands or use the standmixer. I've done both, and I prefer the latter. Mix for about 2 minutes, at this point it should turn to a ball.
- Drizzle the olive oil to the bowl and cover with plastic wrap. Let rise for 2 hours, it should roughly double in size.
Frying
- In a bowl, mix the olive oil and salt, along with garlic powder if you desire.
- Heat fry pan on medium.
- On a floured surface, place the dough and knead it a little and quarter. Then cut those quarters into thirds. I did not set out for a goal of making them round, they may even be intentionally triangular!
- With a rolling pin, flatten your separated pieces of dough until they are between 1/8-1/4 inch in thickness. Using your hands for this part just does not cut it, use a rolling pin, I've tried!
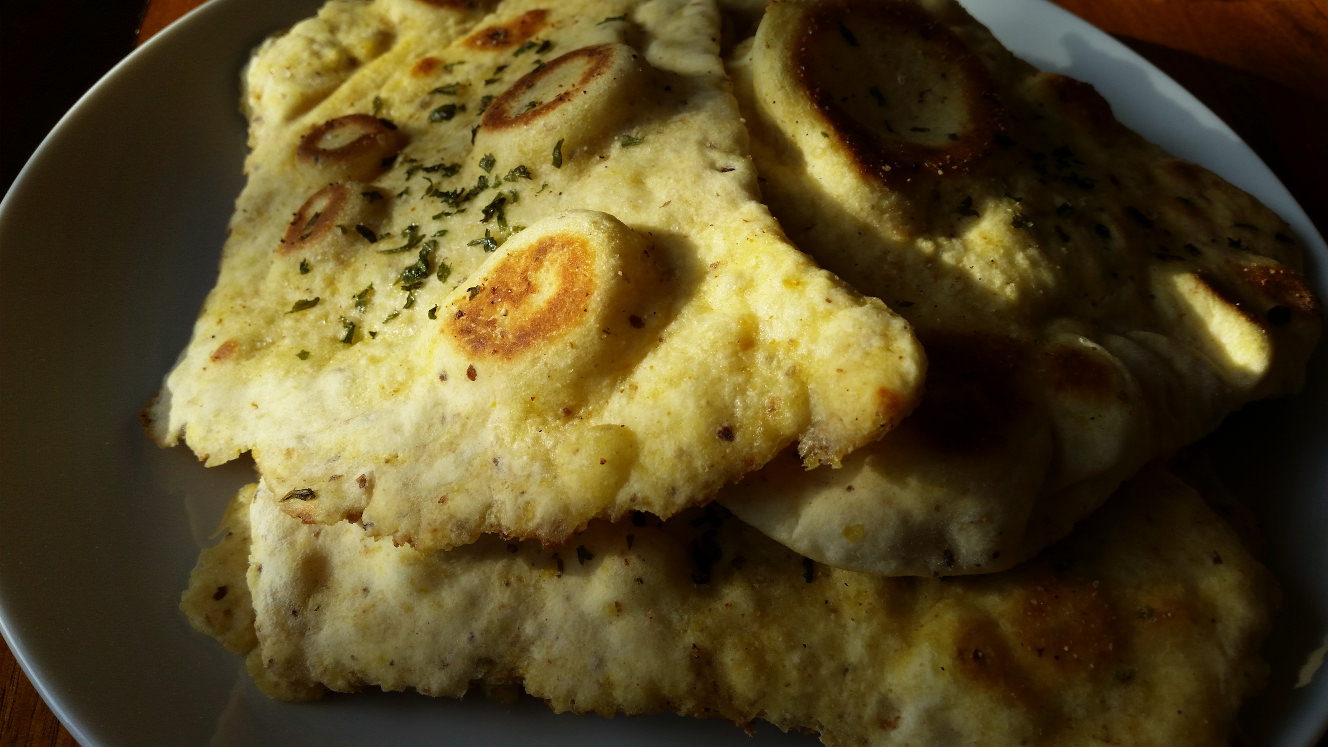
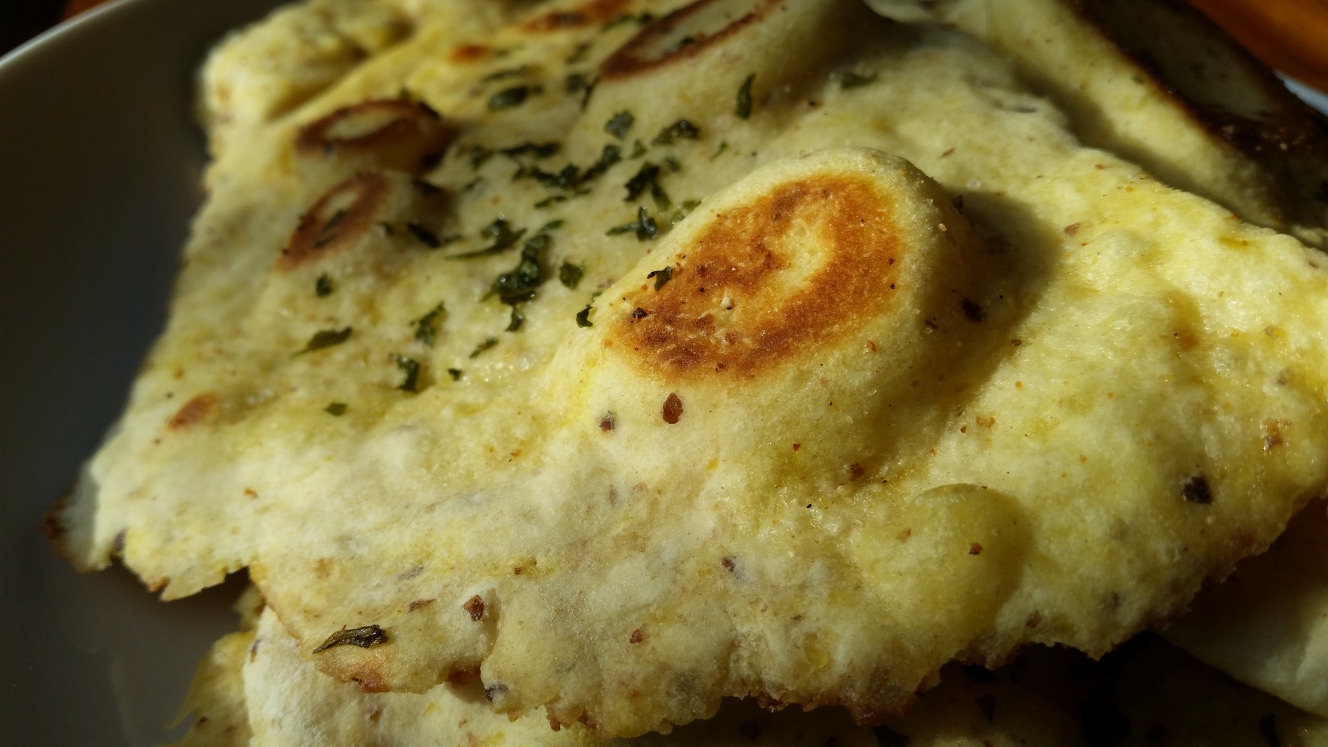
- Before putting dough in the fry pan, brush oil on one side from your bowl. While it is cooking the first side, oil the top side, in addition, using the parsley shaker, shake some parsley (I believe traditionally cilantro is used, I do not usually have any). Flip after about one minute on the first side, you will notice that it should bubble. Let cook for about another minute then remove from pan.
Inspired by
I started with this recipe. I followed the dough pretty closely, except I used olive oil while the dough rose. However, I fried it slightly differently, once again I used olive oil.
Closing
I am just going to say straight out, that I make no claim on knowing how to make proper naan. With that said, whenever I go to an Indian restaurant, it is one of my favourite parts to my meal. So, naturally, I want to try my hand at it. I tried this a few times before I finally got it to the point that I enjoyed it. Heck, one time, I even tried baking it on a pizza pan! Needless to say, that did not pan out (pun intended).
The last time I made it, the dough actually kept pretty well in the fridge over night and I had made it the following day. It tasted really good. So, if you do not wish to make the entire batch in one sitting, do not feel you need to!
If you're looking for more garlic flavour, try adding some minced garlic during the dough preparation.
Another option is to use ginger instead of garlic (or maybe both) for your frying oil.
I found, that if you fry with butter, it is going to taste like a chewy pancake, and that is not something I am interested in. Nothing against pancakes, I like myself a good pancake!
Serve this with a curry dish, it it s a great compliment!
Mar 4, 2018 • food
Ingredients
- 1/2 cup dry quinoa
- 1 cup vegetable broth
- 1 tablespoon olive oil
- 1 carrot (diced)
- 1/4 onion (finely chopped)
- 1/8 green pepper (finely chopped)
- 1/4 teaspoon salt
- liberal use of pepper
- 1/2 15oz can black beans (rinsed)
- 1/2 teaspoon savory
- 1/2 teaspoon thyme
- 1/2 teaspoon rosemary
- 2 red bell peppers (halved)
- 1 tablespoon olive oil (additional)
Instructions
- In a pot, start preparing quinoa with vegetable broth.
- While quinoa is cooking (I had started prepping the vegetables at this time), in a separate fry pan, heat oil on medium. Add carrot, onion, green bell pepper, salt and pepper. Sauté for about 3-4 minutes until onion is translucent.
- When quinoa has finished cooking. Add quinoa, beans, savory, thyme, and rosemary to the fry pan where you are cooking the vegetables. Cook for an additional 3 minutes, stirring as needed to prevent any from sticking to the bottom of the pan.
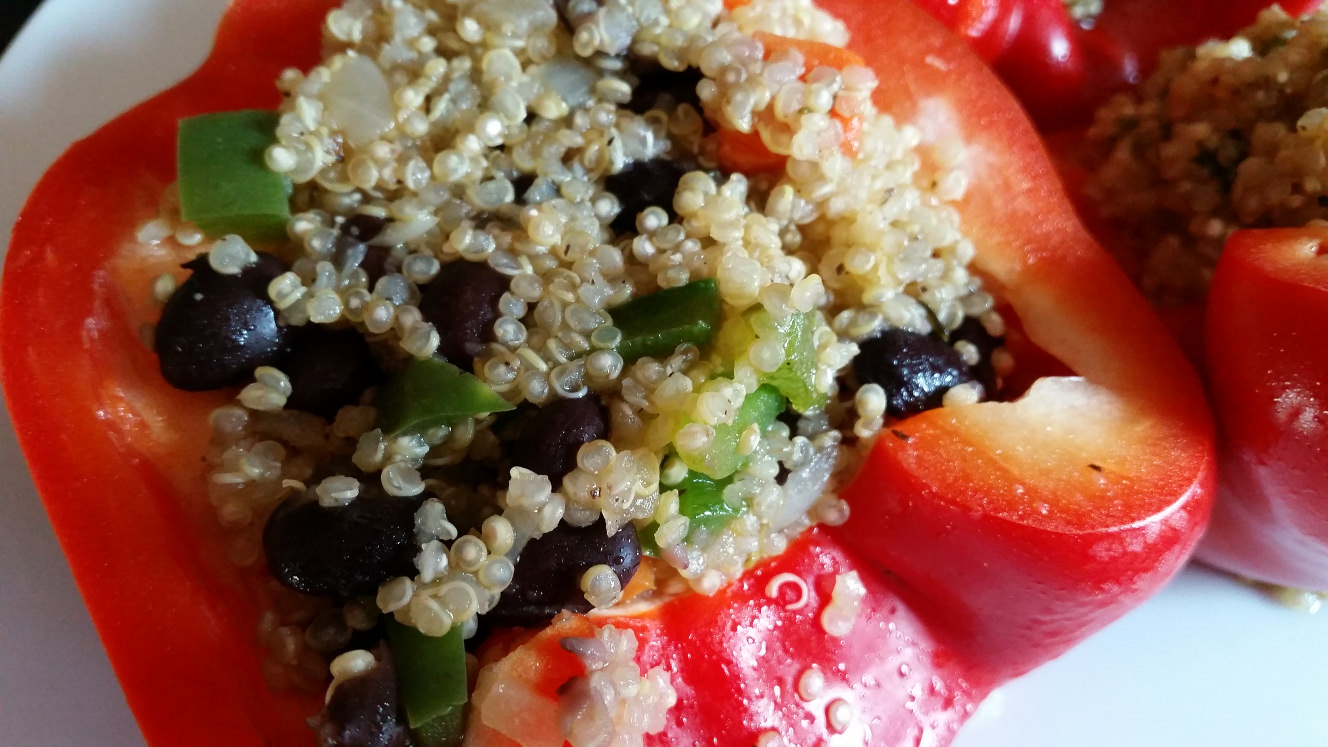
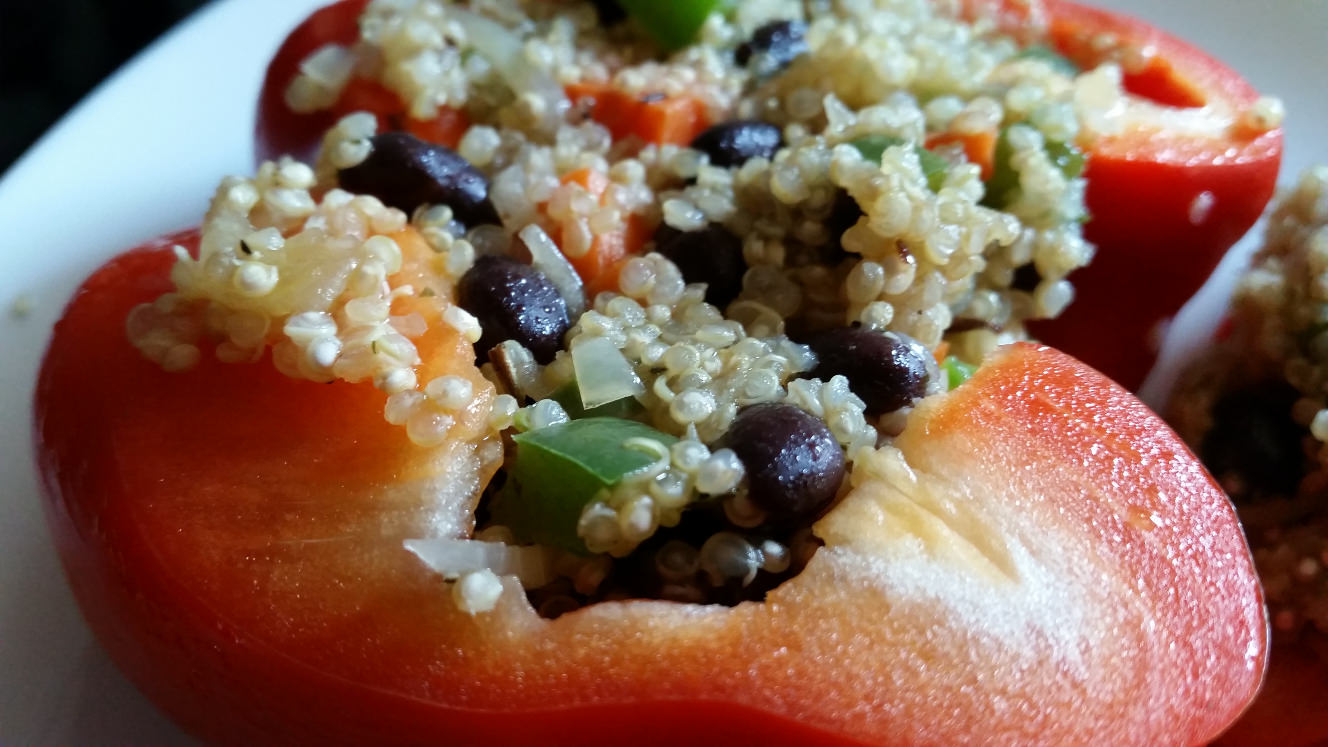
- Remove the quinoa mixture from the pan (completely) into a separate bowl. Start preparing the red bell peppers by filling the quinoa mixture to the top (you might have some extra filler left over).
- Add the second measure of olive oil to the fry-pan that you just emptied. Continuing on medium heat, place the filled bell peppers and cover for about 6 minutes. Occassionally, use a spatula to ensure the pepper is not sticking to the bottom of the pan.
- After the pepper is tender to your liking, remove from pan and serve!
Closing
This is probably one of my best original recipes that I had ever prepared. I will not try to fool anyone, I have heard of stuff peppers, and even had them before. I just did not base mine off an existing recipe. :) I will definitely want to prepare this on again! If I was do anything different, however, I would cook the bell peppers a little longer. I felt they were a bit hard.
Feb 25, 2018 • food
Ingredients
- 1 tablespoon olive oil
- 1 onion (chopped)
- 2 cloves garlic (minced)
- 3/4 cup uncooked brown rice
- 1 1/2 cups water
- 1 teaspoon ground cumin
- 1/2 teaspoon cayenne pepper
- 1 15oz can black beans (drained/rinsed)
- 1 1/2 cup frozen corn
- 1 teaspoon lemon juice
- 1/4 green bell pepper (diced)
- handful black olives (halved)
- 1 teaspoon salt
- be liberal with the pepper
- Garnish
Instructions
- In a large pot, heat olive oil on medium-high. When warm, sauté onion and garlic for 4 minutes.
- Add rice, and sauté for additional 2 minutes.
- Add remaining ingredients bring to a boil then reduce heat to low and cover for 40-45 minutes until rice is tender.
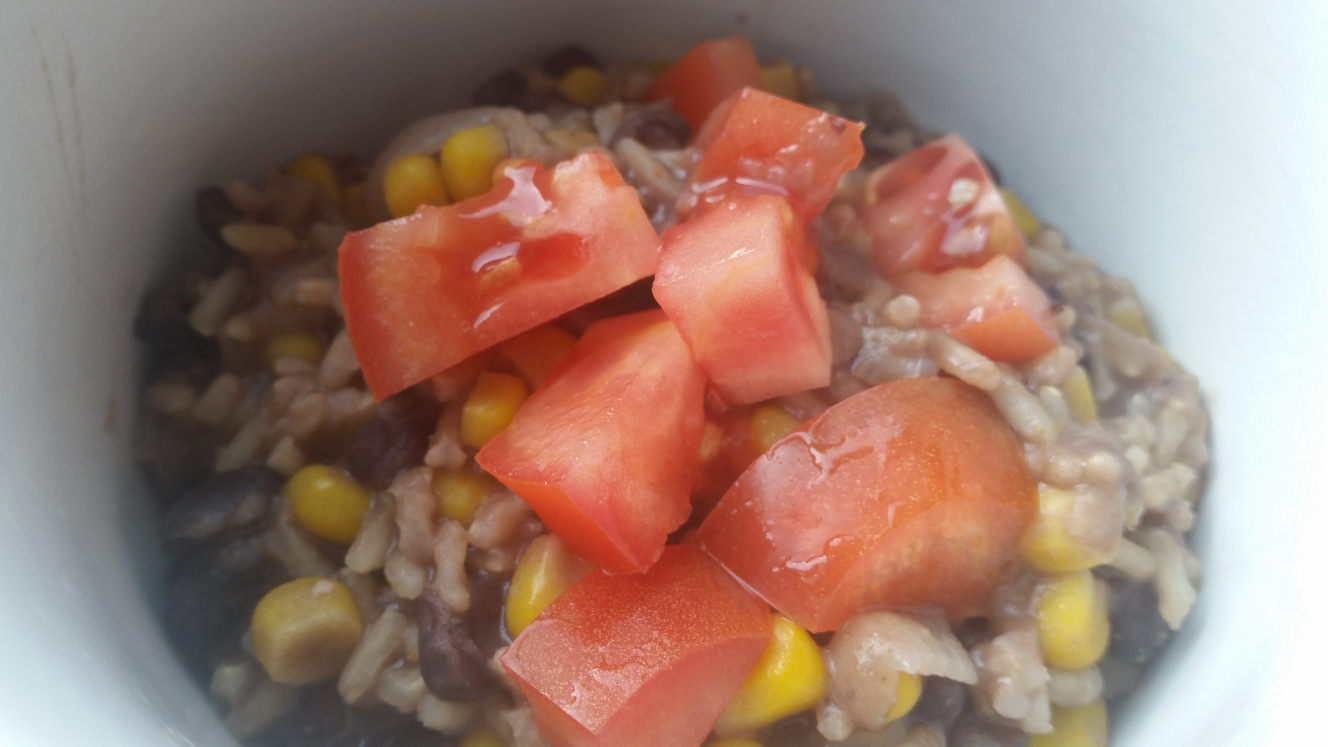
- Serve then top with fresh diced tomatoes
Inspired by
This started from one recipe which was quite bland with some additional liberties taken from another through a comment on the original recipe.
Closing
This is a really an inexpensive dish, that has some zip to it. The tomato balances some of the heat (and if there is not enough, add more [heat]!). I am not overly fond of beans and rice alone, but I think I will make it like this moving forward. I am sure you can think of something that will make it better than this, such as swapping out the beans for another variety!
Either way, enjoy a thrifty meal!
Feb 18, 2018 • food
Ingredients
Dough
- 3 cups water (lukewarm)
- 1 1/2 tablespoon yeast
- 1 1/2 tablespoon salt
- 6 1/2 cups flour
Pre-bake prep
- 1/4 cups wheat germ
- 1/4 cups flaxseed (milled)
- 1/4 cups flour
Instructions
Dough
- Warm the water until it is lukewarm. In a large bowl pour the water and add the yeast and stir until it is mixed without gradulated yeast present.
- Add the salt then followed by the flour. You will have the choice to mix by hand with a wooden spoon or to use the standmixer with the breadhook attachment. I have used both approaches and I prefer the former since there is less clean up.
- This dough does not require any kneading, and when it's all mixed it will have a thick, sticky and soupy consistency to it. You know you are done mixing when there are no longer any dry pockets of flour.
- Place a lid on the bowl (non-airtight, you could use a plate if you wanted or loosely covered plastic wrap) and let rise in a warm place for about 2 hours (3-4 with cold water). According to the source of the recipe, it should not be a problem to let rise for about 5 hours.
- At this point you can either place the dough in the refrigerator (the longer you wait the more of a sourdough it will become) or move to baking with it. You might notice that it will be very sticky and less workable when it has not been put into the refrigerator.
Baking
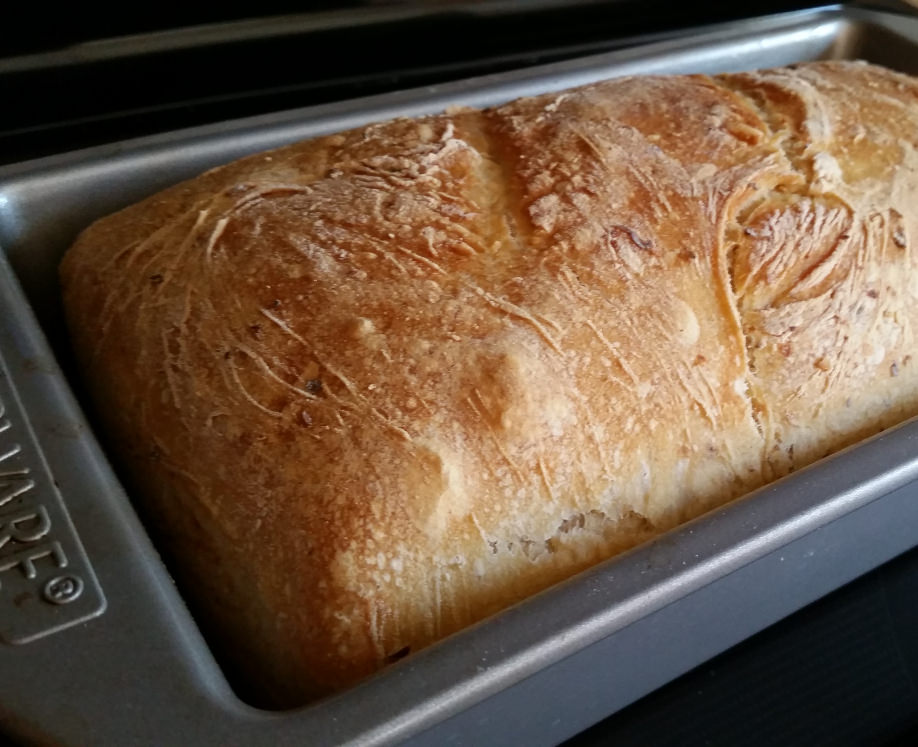
- You have a choice to bake this free on a cookie sheet, in a bread pan, or something else of your choice. Whichever you choose prepare receptacle, if using a bread pan you want to grease it. With a bread pan, I find that half of the prepared dough works really well.
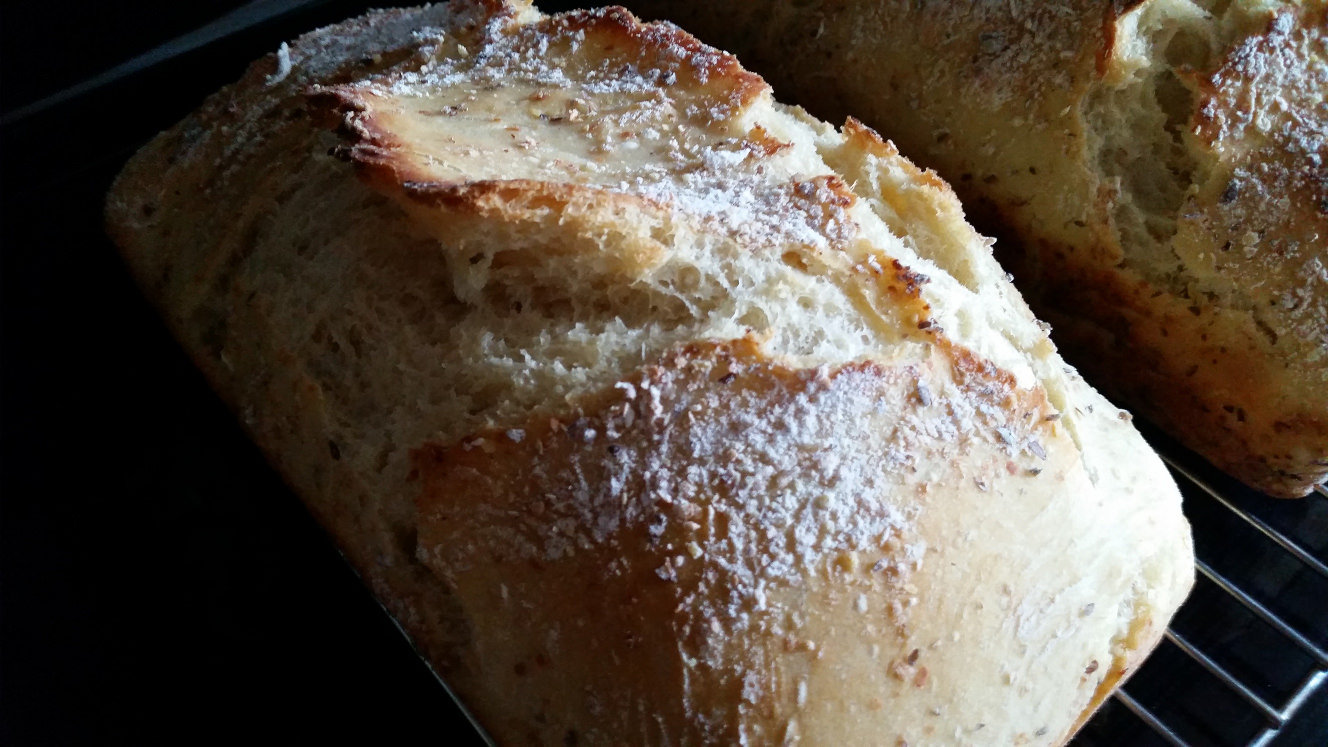
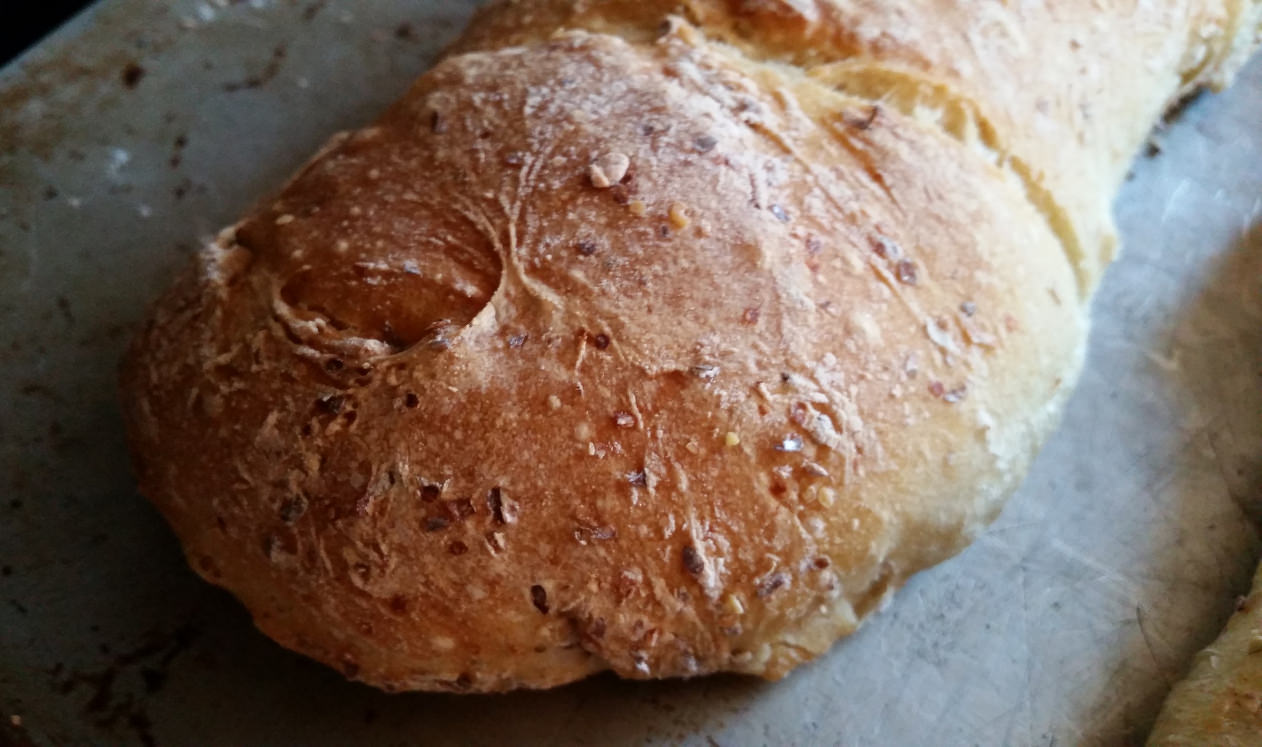
- On a flat surface spread some of the wheat germ, flaxseed, and flour. Slightly mix it on the surface. Generally, the batch of dough can make up to 4 loaves (or 2 if you decide to use a bread pan).
- When you have cut the size that you like, roll it in the flour/grain mixture and place it on your receptable. Let rise for 40 minutes. It will not likely rise much if you placed it in the refrigerator, but do not concern yourself there since the oven will do much of the rising for you.
- With about 20 minutes left of waiting for the bread to rise, preheat the oven to 450 degrees fahrenheit. In a broiler pan, add about 1 cup of water and place on the bottom rack of the oven.
- Before placing in the oven put 3 slices on the top of the loaves. Bake for 30 minutes.
Inspired by
I did not change much on this recipe, but I did add some other grain on the outside for some neat texture and nutrition.
Closing
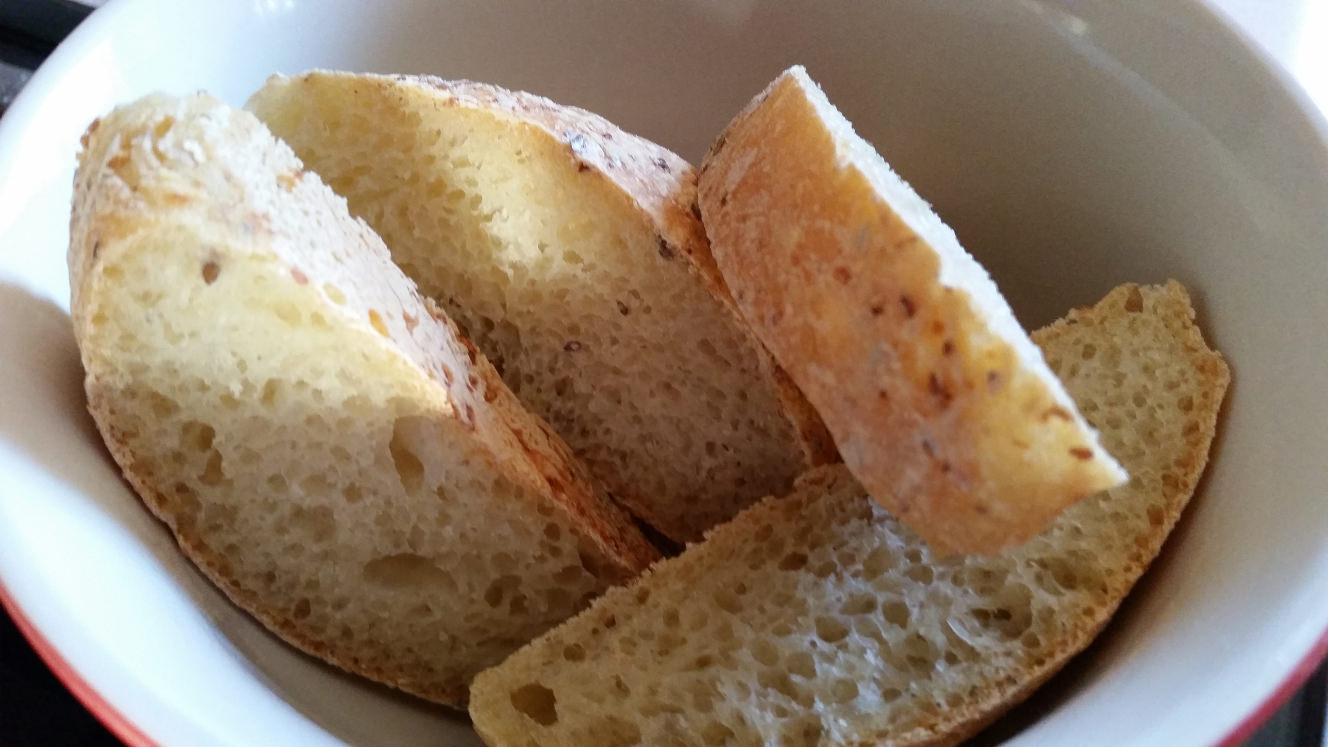
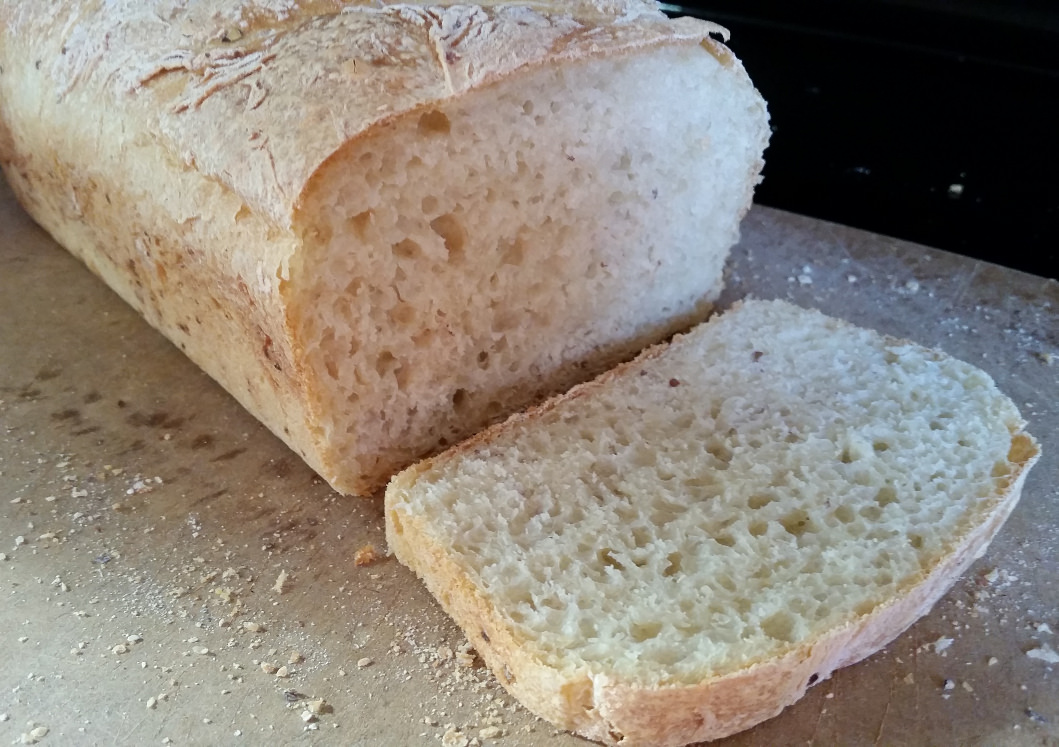
This is probably one of easist bread recipes I have ever made. It's easier than making pizza dough. There is so little maintenance on making this, and overall you might only spend about a half-hour of time preparing it. You will find that it will have a wonderful flavour and the best part to is that the ingredients are so few! If you do not have wheat germ or flaxseed you can forego those ingredients, but as mentioned it adds some nutrition and texture.
Feb 11, 2018 • food
Ingredients
- 2 tablespoon olive oil
- 1 onion (sliced)
- 1 teaspoon fresh ginger (finely chopped)
- 1 teaspoon crushed garlic (about 2 cloves if done by hand)
- 1/2 teaspoon ground cumin
- 1/2 teaspoon chili powder
- 1 teaspoon salt
- 1 15oz can chickpeas (drained)
- a few shakes of mustard seeds
- 3 roma tomatoes (quartered)
- 1 cup jasmine rice
- 2 1/2 cups water
- pepper to taste
- Garnish
Instructions
- In a large pot heat olive oil on medium-high heat. When warm, add onions and cook for about 5 minutes till starting to turn golden-brown.
- Add ginger, garlic, cumi, chili powder, salt, chickpeas and a few shakes of mustard seeds.
- Reduce heat to medium low, and add tomatoes and sauté for 10 minutes.
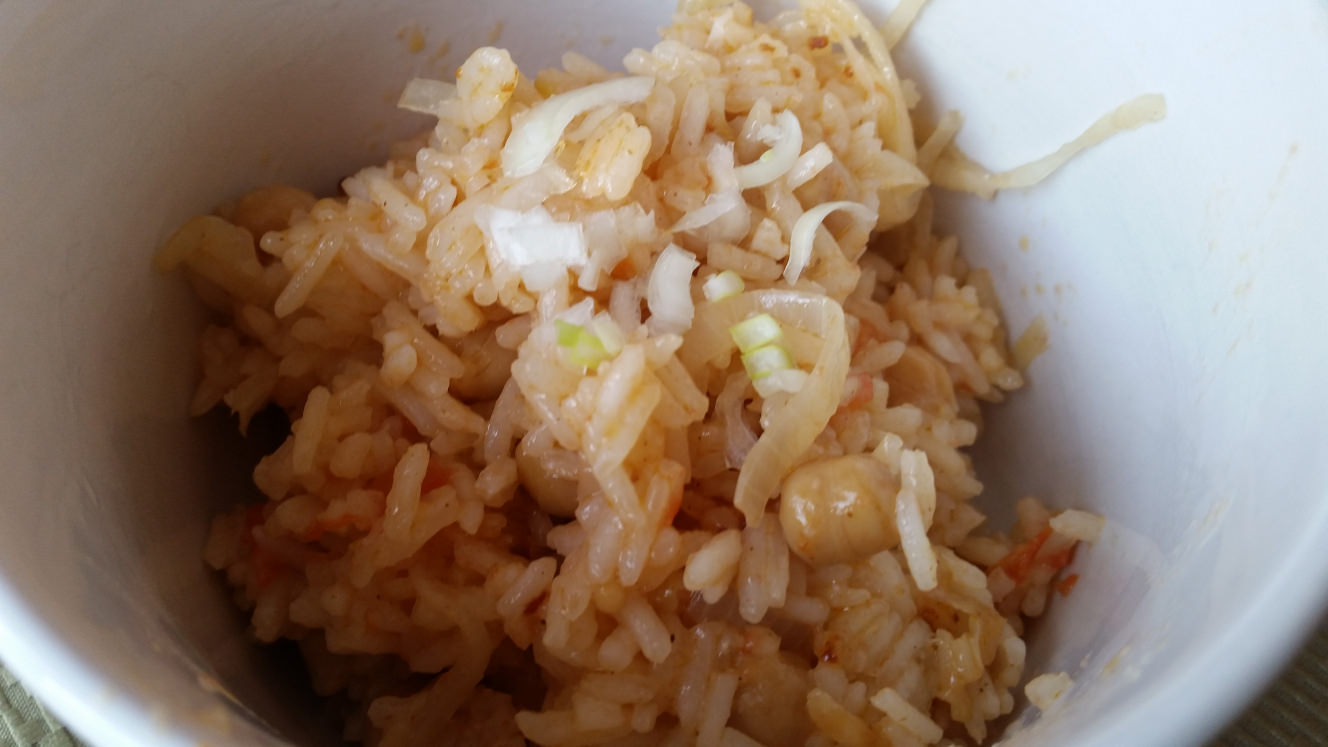
- Add the rice and allow to coat the rice with tomato mixture. Slowly add in water and stir. Reduce heat to low and cover till rice is tender (about 20-25 minutes).
- Prepare to serve with fresh cut onions
Inspired by
There is no website for this recipe since it came from a book! The recipe is called 'Tomato Rice' on page 190 from [Ultimate Vegetarian Recipes, Dempsey Parr Book published 2000, Copyright (C) Parragon 1999], mind my poor man's citation!
Closing
Edit: 2018.08.26: I grossly overstated the olive oil and rice, I realized this after referring to it once
I had to make a number of substitutions with the recipe since I did not have all of the ingredients. For one, cumin instead of turmeric and I added mustard seeds as well since it called for onion seeds (I know not much of a similarity). Also, original recipe called for canned tomatoes and basmati rice, and I used fresh tomatoes and jasmine rice, respectfully. Overall, I felt it turned out really well. I used half the amount of chili powder, but I would recommend using the suggested of 1 tsp in the future.
Enjoy!
 Seasoned Code