Food
One of my, many, passions, but one that is worthy to be a first class citizen on this site. Food. I do not claim to be a good cook, but quite possibly a competent one. I dabble here and I dabble there in a variety of recipes. Whether it is from sautéeing a dish or baking a bread or pizza. I often try out recipes, rarely however, do I follow it to a T. Being a home cook, to me, is an art form rather a science. I am not always too precise on the measurements, I might add a dash of this and a dash of that or sneak in some added nutrition there.
My goal is to prepare a decent meal at least once a week (often on the weekends), and I would like to share with you what I decide to tackle. I hope you do not mind vegetarian meals, because that is what I predominately cook!
Please check back, often!
Click here for a list of the recipes if you do not wish to scroll through all of them!
Jan 6, 2019 • food
Ingredients
- 2 1/2 cups flour
- 1/4 cups flaxseed
- 1/4 cups wheat germ
- 1 1/2 tablespoons sugar
- 1/2 tablespoon dry active yeast
- 3/8 tsp salt
- 1 cup luke warm water
- 1 tbs olive oil
- [Optional]
- A little more olive oil
- Few shakes garlic powder
- Few shakes crushed peppercorn
- Sauce
- Mozzarella Cheese (shredded)
- Toppings
Instructions
- While warming the water in the microwave for one minute. Combine all dry ingredients into bowl. Put on stand mixer and mix with water till turns into ball. Add more flour if it's too damp or a little water if it is too dry.
- After dough has a smooth elastic consistency, drizzle oil on top and let rise for 1 hour covered with a cloth in a warm place.
- Preheat oven to 375 degrees fahrenheit.
- Take dough out of bowl, onto the floured the surface of a pizza pan. Flatten the dough onto the pizza pan. After it has been flattened to your liking, feel free to lift one side at a time and place some cornmeal underneath.
- [Optional] Combine the "little more olive oil", garlic powder and crushed peppercorn and spread over top of dough.
- Bake for 7 minutes on pizza pan (or baking sheet).
- Take crust out of the oven. Set oven to 425.
- Add sauce, cheese, and ingredients to crust.
- This is the tricky part. Put back in the oven on the bottom rack, directly with no baking sheet (if you do not have a pizza peel use a cookie sheet to slide off the pan), for four minutes.
- Note, I usually turn on the broiler for this step. Move the pizza to the top rack (with no pan) for two to four minutes or until it has the desired crispiness. Make sure to keep an eye on it when using the broiler!
- Remove from oven and let cool on pizza sheet then slice away and devour!
Inspired by
The search ended with this recipe, it's "easy" but it is really good!
Closing
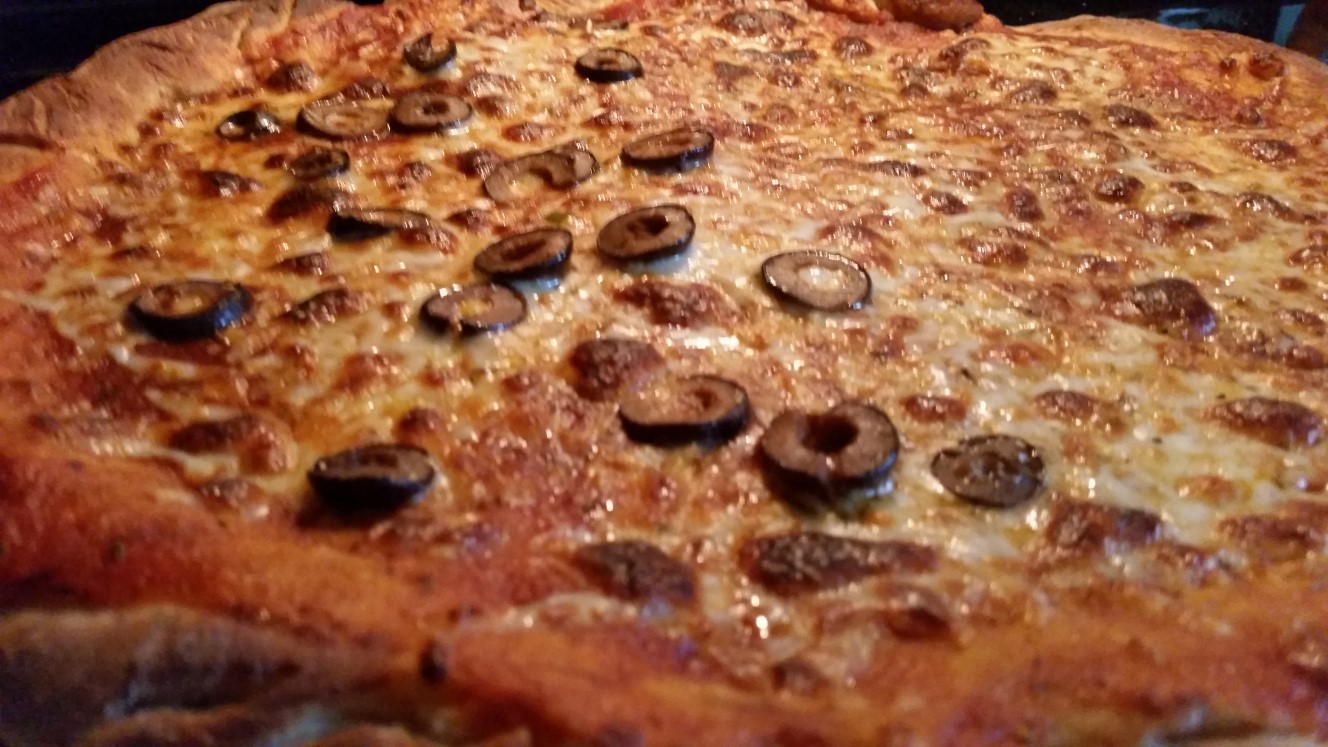
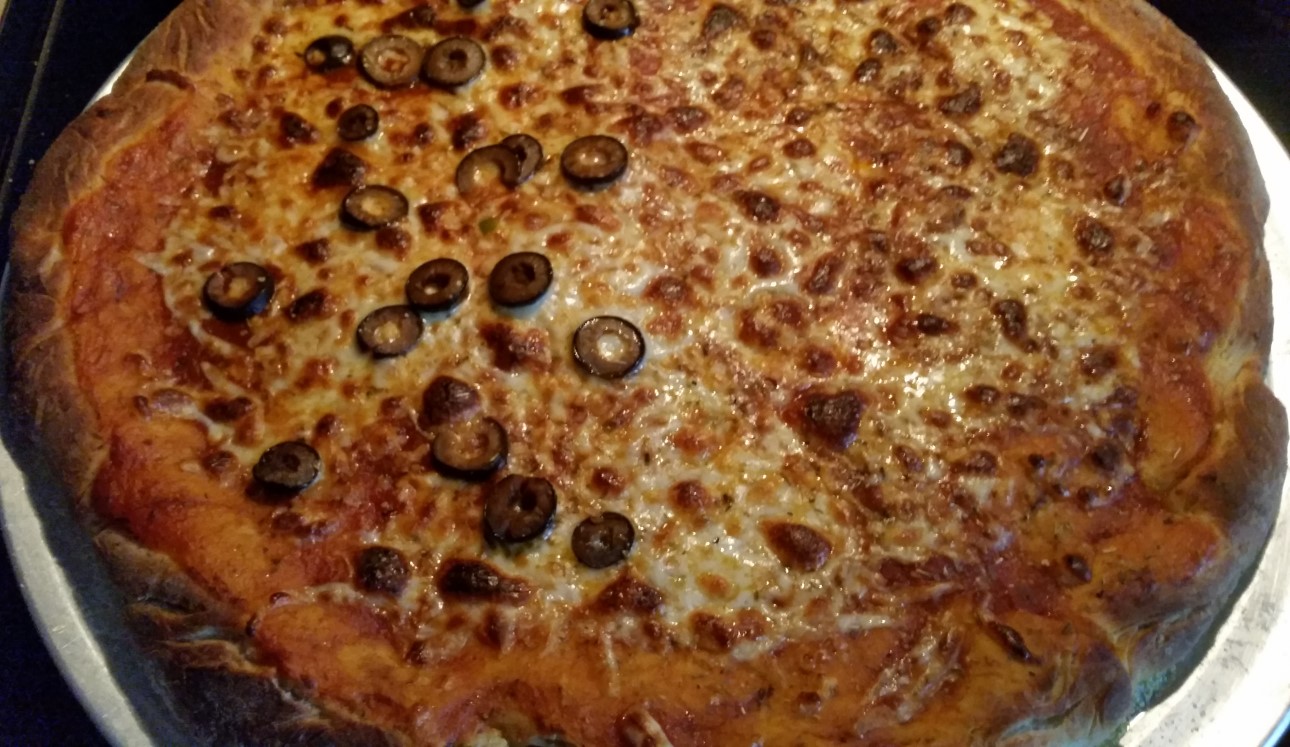
Where to begin. It's the pizza, really, that started everything for me. I originally was afraid of yeast, and used other forms of getting a crust to rise. It just did not taste well. So, I ventured into yeast recipes, and at first I was not all too successful. I really struggled with getting the crust crispy when baking on a cookie sheet. So, I ventured into pan pizzas with this recipe. Eventually, moving onto pizza pans with mixing between prepping the crust to baking directly on the racks.
I've been holding on to this recipe for a while, I really do not know why (actually I do I have it memorized and it represents so much for me). I have gone through a number of crusts recipes, and this one just is it (after some modification). It is one of my and family's favourites, hands down. What I love about this is that the pizza, if done right, will have a slightly crunchy bottom and crispy top. It tastes wonderful, and you do not even need to have a baking stone (even though having one makes it easier). I have really perfected this process to more of a science than I usually do for my recipes.
Also, another bit about this dough, is that it is versatile. You can make a pan pizza with it, and if you have the right sauce you could make it taste nearly identical to a Rocky Rococo pan style pizza. I will likely share that process later.
Often, I will double the recipe at the same time and split the dough in two before I let it rise. There is a bit of a juggle, but you can essentially stagger the two pizzas in the oven at the same time (something you cannot do with a baking stone).
In the end of all of this. I much prefer my pizza over a restaurant's, and I have fun doing it!
Try it, and you will not be disappointed!
Jan 6, 2019 • food
Family Restaurant's (adjusted)
Ingredients
- 1 15oz can crushed tomatoes
- [Substitution]
- 5-6 crushed Roma tomatoes (peeled)
- 1 tablespoon olive oil
- 1 15oz can tomato puree
- 2 teaspoons oregano (crushed)
- 2 teaspoons parsley flakes (crushed)
- 1 1/2 teaspoons salt
- 1 teaspoon sugar
- 1 teaspoon pepper
- 1 teaspoon garlic powder
Instructions
- [Skip if not using 5-6 tomatoes]
-
- In a medium sauce pan boil water
-
- Blanch tomatoes in boiling water for about 1 minute to remove peels
-
- When cool remove peels, and cut into 4 parts
-
- In medium sauce pan heat olive oil on medium. When warm add in cut tomatoes. Using a potato masher "crush" the tomatoes.
-
- Bring to a boil and cook for about 5 minutes to reduce liquid.
- Combine all ingredients into sauce pan bring to boil then reduce heat.
Inspired by
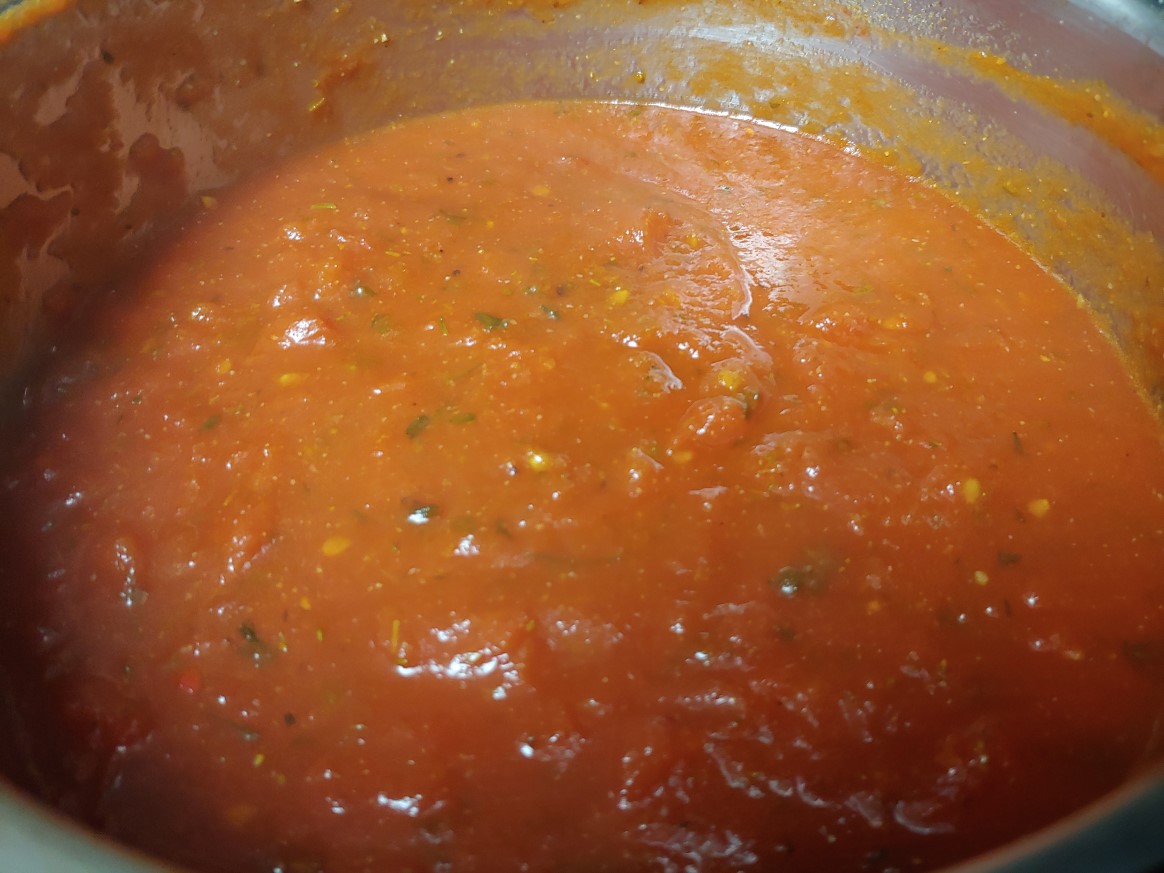
This was a family restaurant's recipe, modified to fit something for the home by reducing quantity and ratio of oregano and parsley. You would likely have enough for about 3-4 pizzas. Also, the original did not use fresh tomatoes, it added a nice touch.
A copycat
Ingredients
- 2 15oz cans tomato puree
- 3/4 cups water
- 3 teaspoons sugar
- 3 teaspoons olive oil
- 3/4 teaspoon salt
- 3/4 teaspoon oregano
- 3/4 teaspoon lemon juice
- 3/8 teaspoon basil
- 3/8 teaspoon thyme
- 3/8 teaspoon garlic powder
Instructions
- In a medium sauce pan, combine all ingredients. Heat on medium and bring to a boil. Set heat to low and then simmer for 15-20 minutes.
- Place on your pizza pies, up to 4 or so!
- Store the rest in the freezer for future use.
Inspired by
Looking to follow a copycat that does not really taste like its copycat. It's a little on the sweet side, but it's pretty good.
Closing
There are many to sauces to choose from. I really enjoy the "family restaurant's."
Dec 30, 2018 • food
Ingredients
- 2 cups water (luke warm)
- 5 1/2 cups flour
- 1/4 cup milled flaxseed
- 1/4 cup wheatgerm
- 6 1/2 teaspoons dry active yeast
- 1 tablespoon dark brown sugar
- 2 tablespoons olive oil
- 1 teaspoon salt
Instructions
- Combine yeast, flour, flaxseed, wheatgerm, sugar into a bowl (preferably a stand mixer bowl). Follow by mixing with a spoon and breaking down the brown sugar.
- Add the water (I had warmed it in the microwave for about a minute and a half), if you have a stand mixer mix till it is thoroughly a damp blob. Add in the olive oil and salt and continue mixing for an additional 8-10 minutes until it is a soft and elastic ball.
- Drizzle a little additional oil on the ball and cover with plastic wrap and let rise for 1 1/2 hours.
- Preheat oven to 425 degrees fahrenheit.
- Take dough out on floured surface and punch followed by two folds under. Let rise for another 15 minutes or so.
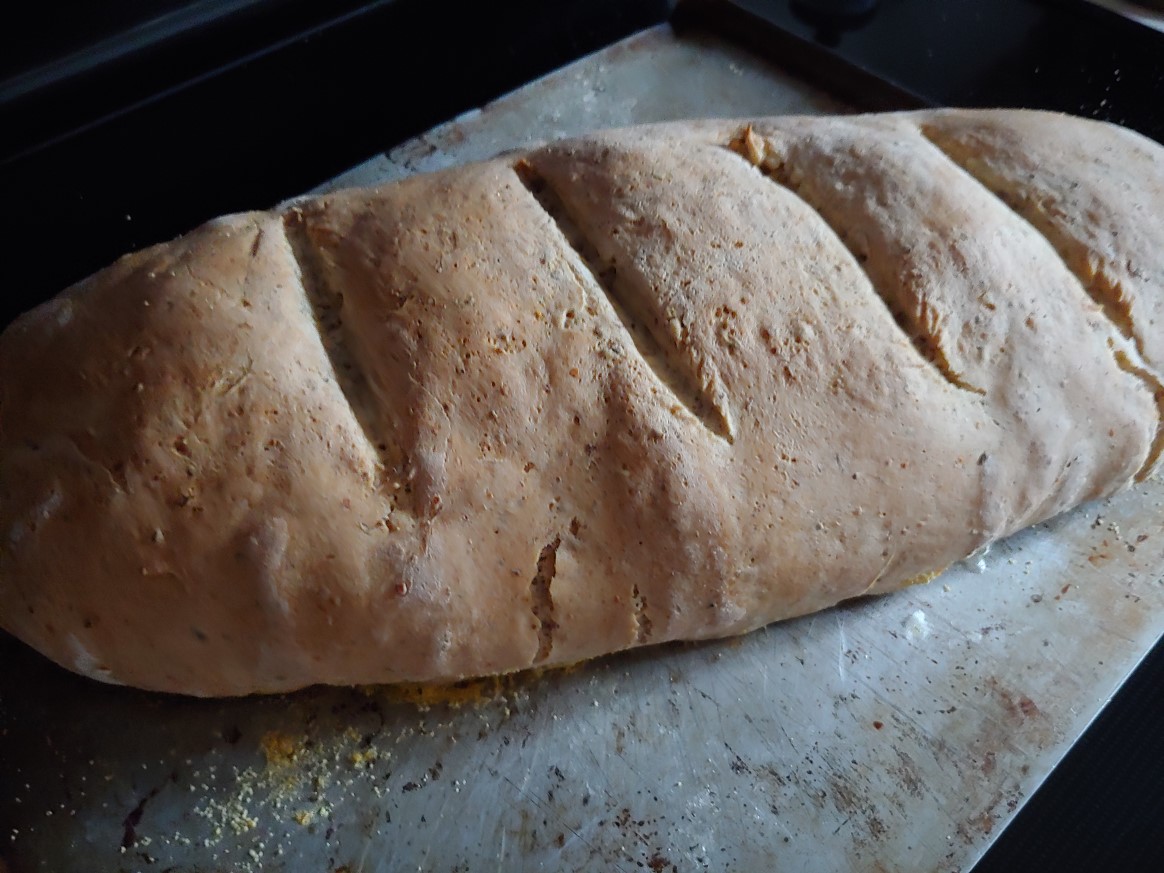
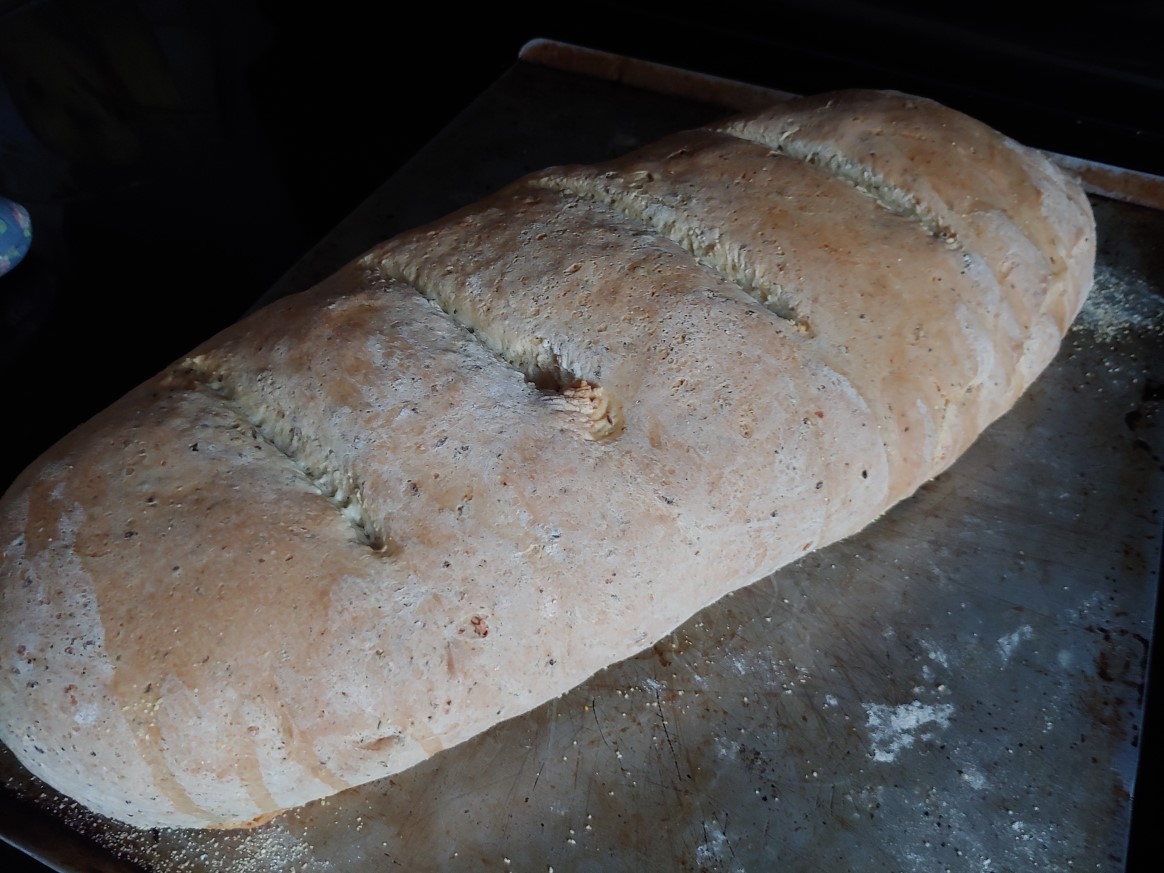
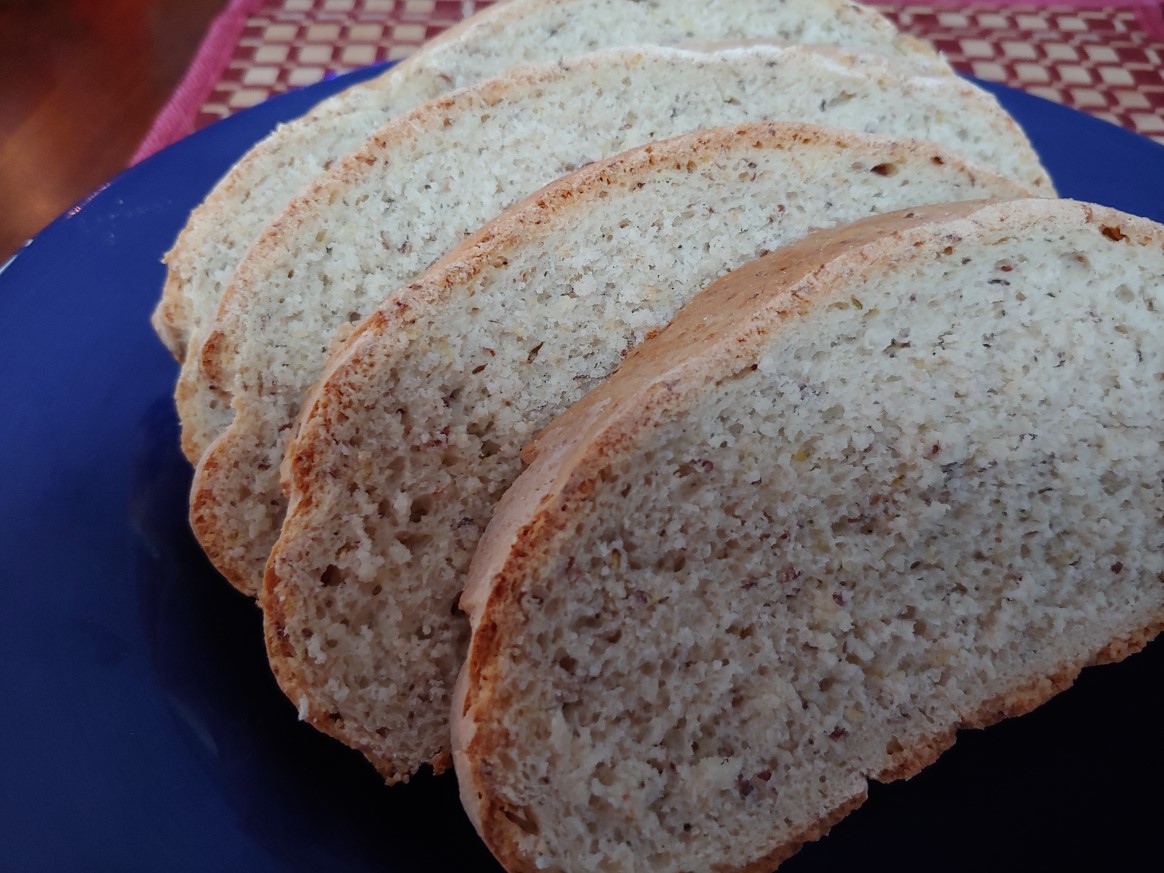
- Transfer to baking sheet with some cornmeal. Cut four deep slits at a 45 degree angle on the top of the loaf. Place in oven and bake for 45-55 minutes or until crust is hard and giving a few whacks with wooden spoon results in a hollow thump.
Inspired by
I based off this recipe. I made a few changes, such as using dry active yeast, and did not use egg white or sesame seeds.
Closing
This is a fun recipe. The dough has a consistency that reminds me of pizza dough. It's fantastic, and it tastes just great! I recently acquired a baking stone, and it really gave it a nice taste too. You might be able to half the recipe if you would like to have a smaller loaf.
If you would like a crispier crust, you could always add a pan with water in the oven while it bakes. The original recipe talked about splashing water on the outside while it bakes. I am not particularly fond with the latter approach.
Give it a go!
Nov 18, 2018 • food
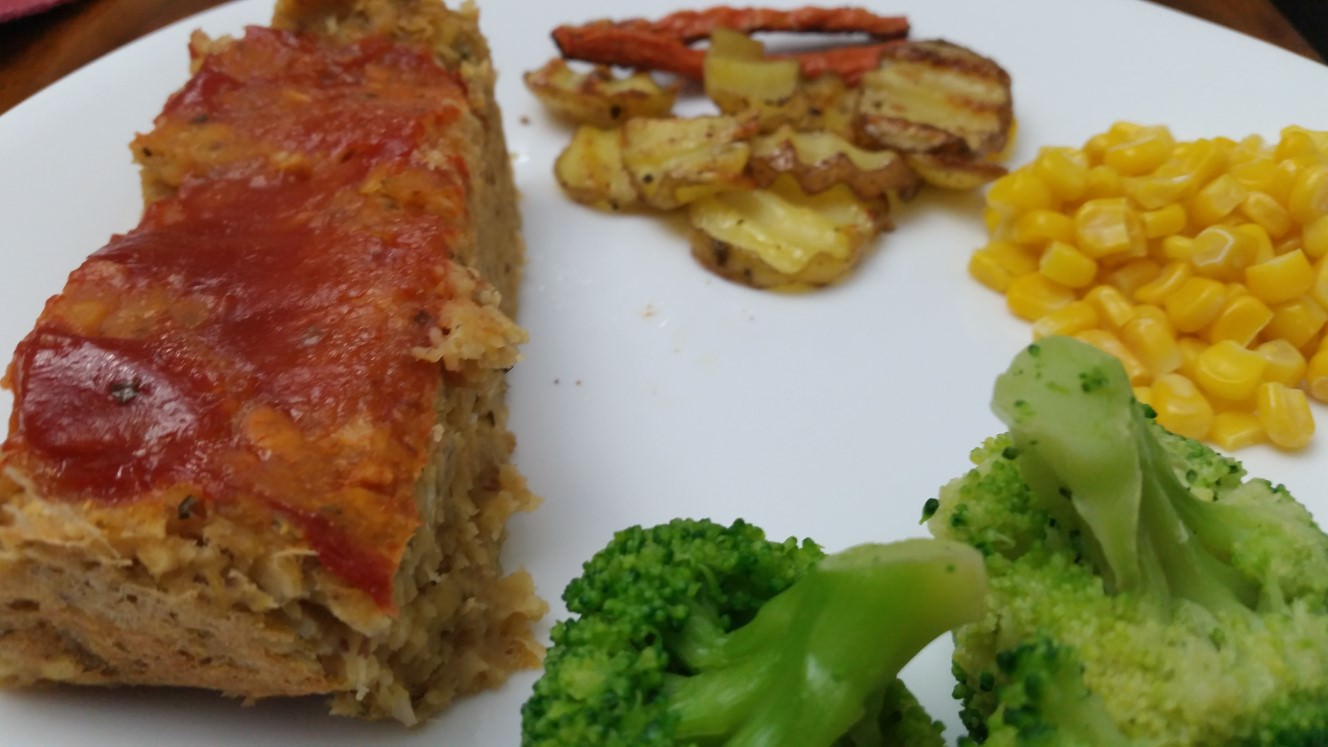
Ingredients
- 1 1/2 cups red lentils (dry/uncooked)
- 4 1/2 cups water
- 1 tablespoon olive oil
- 3/4 cup oat flour
- 1/3 onion (chopped)
- 2 garlic cloves (minced)
- 1/4 teaspoon ground ginger
- 1/2 teaspoon oregano
- 1/2 teaspoon basil
- 1 tablespoon ground flaxseed
- 1 tablespoon vegan Worcestershire sauce
- 1 tablespoon soy sauce
- 1/2 teaspoon Dijon mustard
- salt and pepper (optional)
- ketchup (optional)
Instructions
- In a pot on high, adding lentils, water, and olive oil. Cook for about 20-25 minutes until water is, for the most part, absorbed or evaporated.
- Preheat oven to 400 degrees fahrenheit.
- In a large bowl, mix together flour, onions, garlic, ginger, oregano, basil, flaxseed, Worcestershire sauce, soy sauce, mustard and 2 cups cooked lentils. After everything is thoroughly mixed, stir in the remaining lentils. Optionally, salt and pepper as you desire.
- In a bread pan, either grease or line with parchment paper (I side with the latter). Add lentil mixture into pan evenly. Spread a layer of ketchup on top.
- Place in the oven for 25-30 minutes, the edges should be brown/crispy.
- Let cool for a few minutes before slicing.
Inspired by
I followed this recipe pretty closely. I milled my own flour from steel cut oats (by far the easiest grain to mill that I have experienced). I recommend using red lentils, other lentils (green?) do not keep together very well. I also did not make the traditional brown sugar and ketchup topping and used far less ketchup. I also did not use a food processor.
Closing
This tasted pretty, pretty good. I have been into "comfort" food as of late, it must be the weather, or something. So it's nice to make something that has a pretty good texture and flavour. I might add some salt and pepper the next time, I neglected because I had forgotten more so than making a conscious decision. I added vegetables on the side, potato "cottage fries" included.
The type of lentils does make a big difference. I have used other types of lentils, and the texture, flavour, and cohesiveness is better with red lentils, in my opinion. That being said, I only have two to choose from at my local grocer. I might try to adding some TVP (Textured Vegetable Protein) to give it some more "meaty" texture in the future.
Give this a go, and see how you like it!
Oct 21, 2018 • food
Ingredients
- 4 teaspoons salt
- 1 cup warm water
- 3 3/4 cups flour
- some flour for kneading surface
Instructions
- In a large bowl mix salt and water.
- Add flour into bowl. Start mixing with a wooden spoon until until water is absorbed.
- Continue kneading the with hands in the bowl or on a floured surface, until the dough is smooth (about 5-10 minutes). If the dough is sticky instead of smooth, add a little more flour.
- Make a ball, add a little more flour to surface. Using a rolling pin flatten until thickness is about 1/8 inch at the length of about 8 inches. You may need to make a few flattened discs/squares.
- In a large pot heat water to a boil (I added a little olive oil, this is not required, to prevent sticking).
- Make a three fold, and use a chef's knife slice the dough in the same direction that the dough was folded at about a quarter inch width.
- Unfold the raw noodles while waiting for water to boil.
- Add noodles to pot (you may need to separate them carefully), stir with a spoon to prevent them from sticking. Cook until they rise to the top of the water, about 6-7 minutes, then drain the water.
- Add to your preferred dish, or just eat them as they are, they're that good!
Inspired by
I followed this recipe, as a guide. I did not use bread flour, or step on the dough, nor did I let stand for 3-4 hours. I prepared them, and promptly put them in the water.
Closing
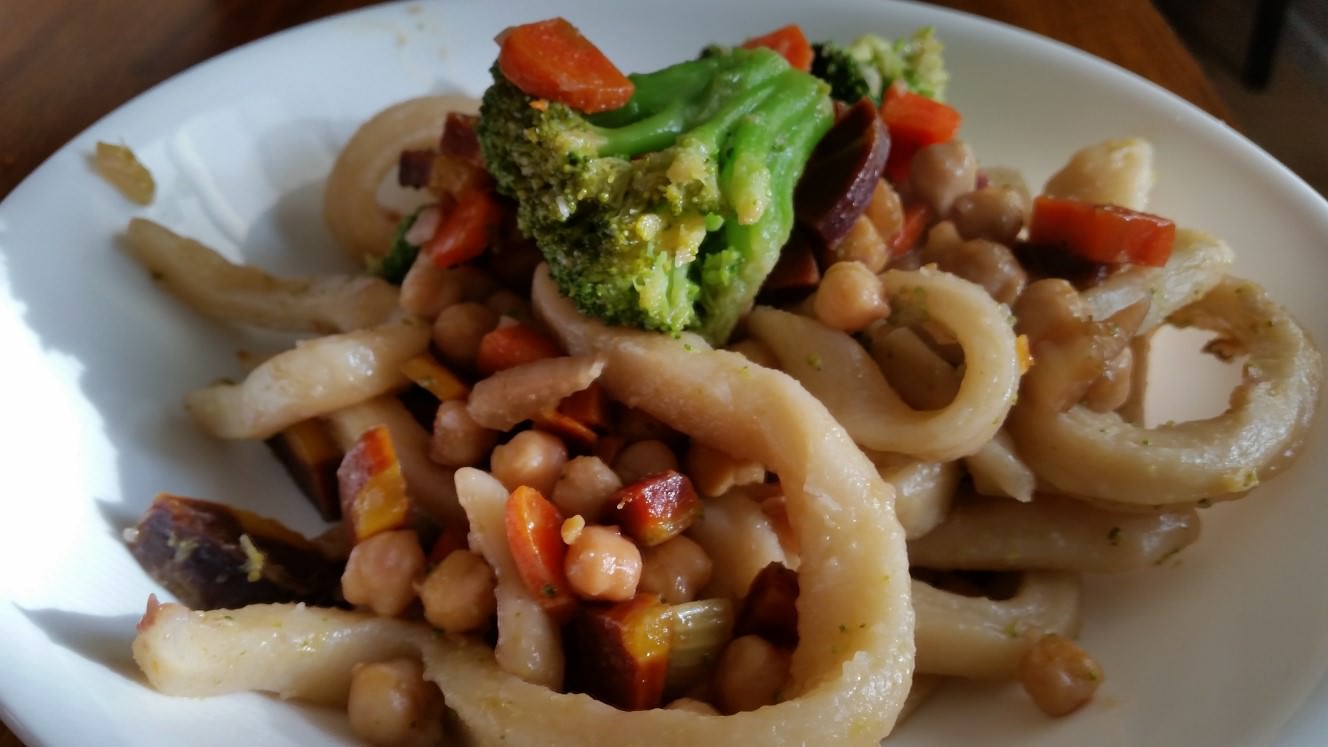
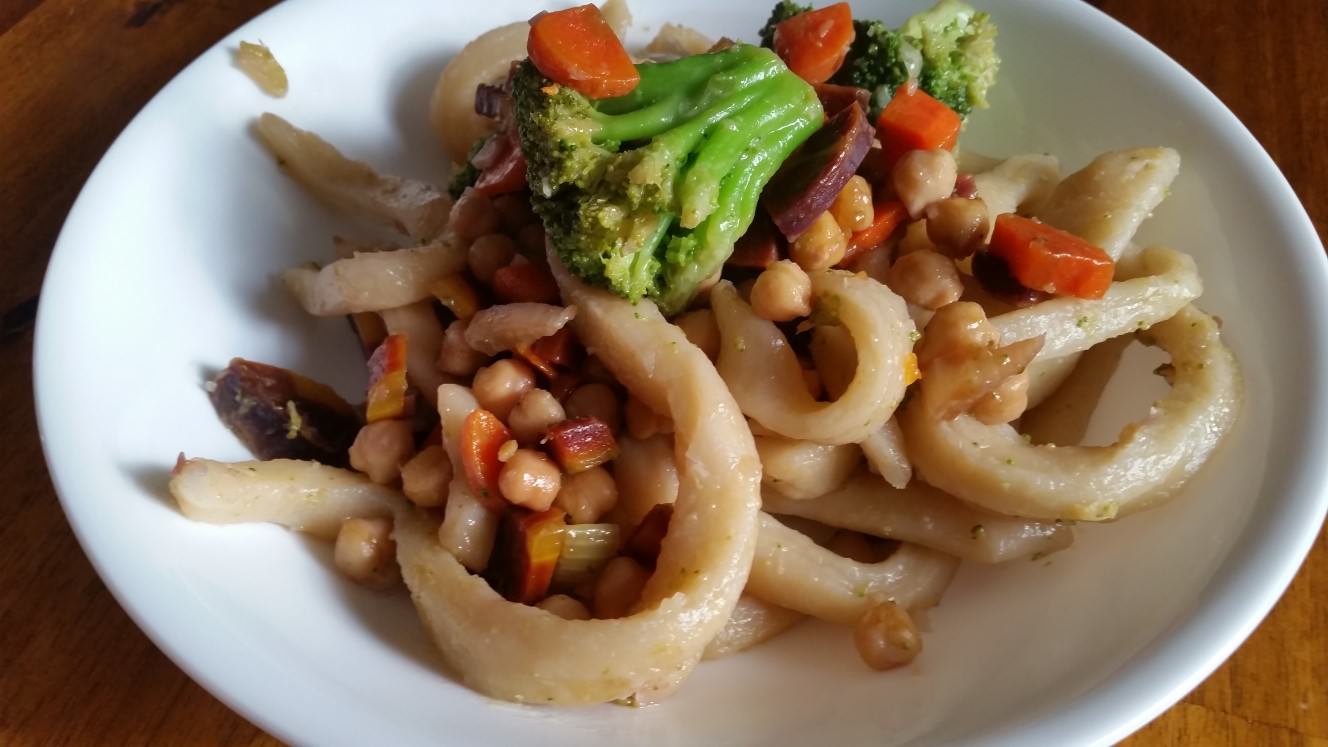
I often hear people say that making noodles is hard. It really is not, it's easier than making bread. If I recall, this was the first noodle recipe I had ever made, and it was an eye-opening experience. What is great about this recipe is that you do not need a stand mixer (okay, you never need one, but it helps often), nor do you need to use a pasta maker.
These taste great, and you can add them to any recipe that requires noodles such as these.
Have fun making them!
 Seasoned Code